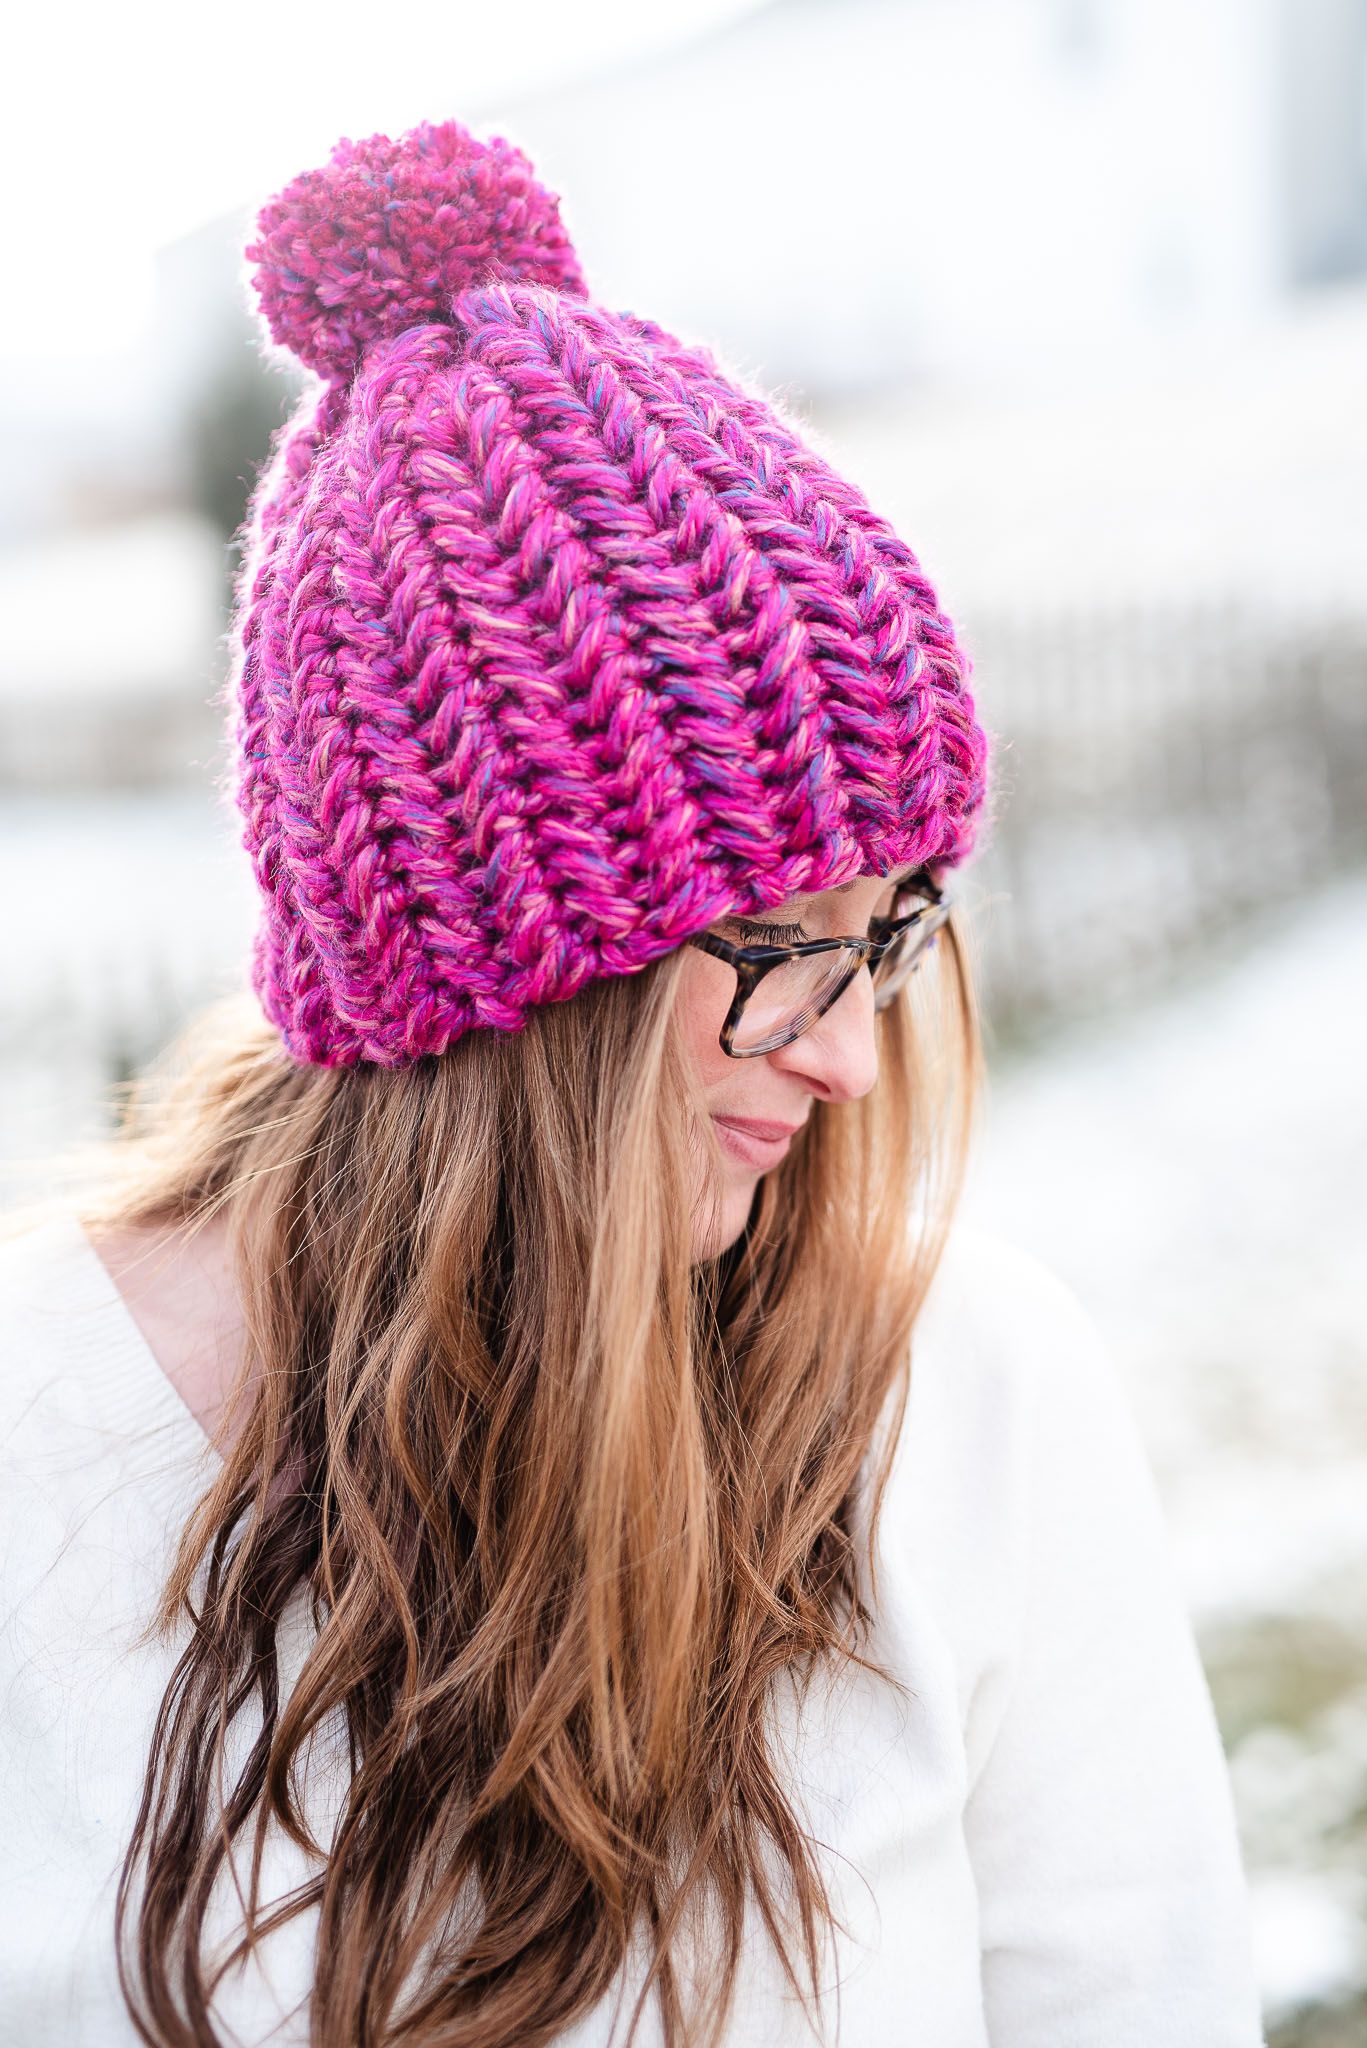
The Crochet Herringbone hat is the definition of simplistic beauty.
Because it’s made of bulky yarn, it works up super quick and the herringbone texture shows off beautifully.
This beanie is easily my favorite because of the color, the softness, and the design.
The herringbone stitch is so simple, yet modern, which makes it the perfect stitch to use when creating a beanie!
This hat is made by crocheting a rectangle and then sewing the ends and top together like shown in this tutorial.
I would say that this hat is for advanced beginners. Mastering the herringbone stitch can take some practice to make sure all the stitches end up being uniform. Even still, using a bulky weight yarn helps minimize mistakes, making this a beginner-friendly design!
New to the herringbone single crochet stitch?
Check out this quick video tutorial to help you get started!
Herringbone Beanie: An easy crochet hat pattern

Materials needed:
- US N/15 10mm crochet hook (I love how these hooks glide across bulky yarn)
- 8 oz. #6 super bulky yarn (I used 2 skeins of Lion Brand Hometown yarn in ‘Phoenix Azalea’)
- Tapestry needle
- Craft scissors
- optional: pom pom maker
Abbreviations:
ch – chain
st – stitch
sc – single crochet
hb sc – herringbone single crochet
Herringbone hat pattern:
ch 21
row 1: sc in 2nd chain from hook, hb sc across, turn (20 st)
row 2: ch 1, reverse sc in 1st st, reverse hb sc across, turn (20 st)
row 3: ch 1, sc in 1st st, hb sc across, turn. (20 st)
row 4 – 12: repeat rows 2 & 3 until you’ve reached the desired length of hat (see hat chart below for hat sizes & adjustments).
By now you should have a 19″ x 9″ rectangle. You can adjust the size to fit any size head (see below). Don’t finish off. Leave long tail for sewing.
Need a different size?
Check out the hat sizing guide below – this pattern is so easy to tailor to any age!
How to Seam the Hat:
ch 1 & turn. Take the bottom of the work and fold up so that the starting edge is parallel to the last row finished.
The seam is worked by slip stitching the two ends together like so: insert the hook into the stitch closest to the hook and then into the back loop of the first stitch on the opposite wide of the work. Slip stitch together.
Continue to slip stitch both ends across the row until you reach the end. Note that this is the WRONG side of the hat. You will be flipping it after it’s all sewn together.
At the end, cut the yarn, leaving a long tail for weaving in to cinch the top of the hat.

At this point you’ll have a long tube that will need to be closed in order to create the hat. Thread the fastened yarn with a tapestry needle & work a running stitch through the top to gather all of the stitches.
Once you have worked around the entire area, pull the yarn tight to close up the hole in the hat as best as you can. If you cannot completely close the hole, continue to weave the yarn over the open area to close the hat. Tie off.
Turn hat inside out, fold up the brim, and top off with a pom pom if desired.
How to make the herringbone hat in a different size
The best part about this pattern is that you can easily adjust the size.
This hat is pretty universal for older kids up to adults since the slip stitches give it a lot of stretch. But if you’re needing a smaller of bigger size, just crochet the amount of stitches needed to get to the length and width of the hat you’re making.
Refer to the hat chart below for the recommended sizes depending on age.

Have a question about the pattern?
Ask me in the comments below! I am excited for you to make this fun crochet hat.
If you like this pattern, make sure you sign up to get FREE crochet patterns delivered to your inbox every single week!
One comment
Comments are closed.